
Build the first toolbox
Apprentice millwright recommended tool list
A practical staged checklist for showing up prepared without buying every specialty tool at once. Your local, training center, employer and dispatch requirements always come first.
Field guide: https://millwrightsupply.com/apprentice-tool-list.html
The controlling list comes first
Confirm what your program and contractor actually require
Millwright tool lists differ by training center, local, contractor, industry and assignment. One program may expect a complete first-period socket and wrench range, while another supplies those tools or phases them in differently.
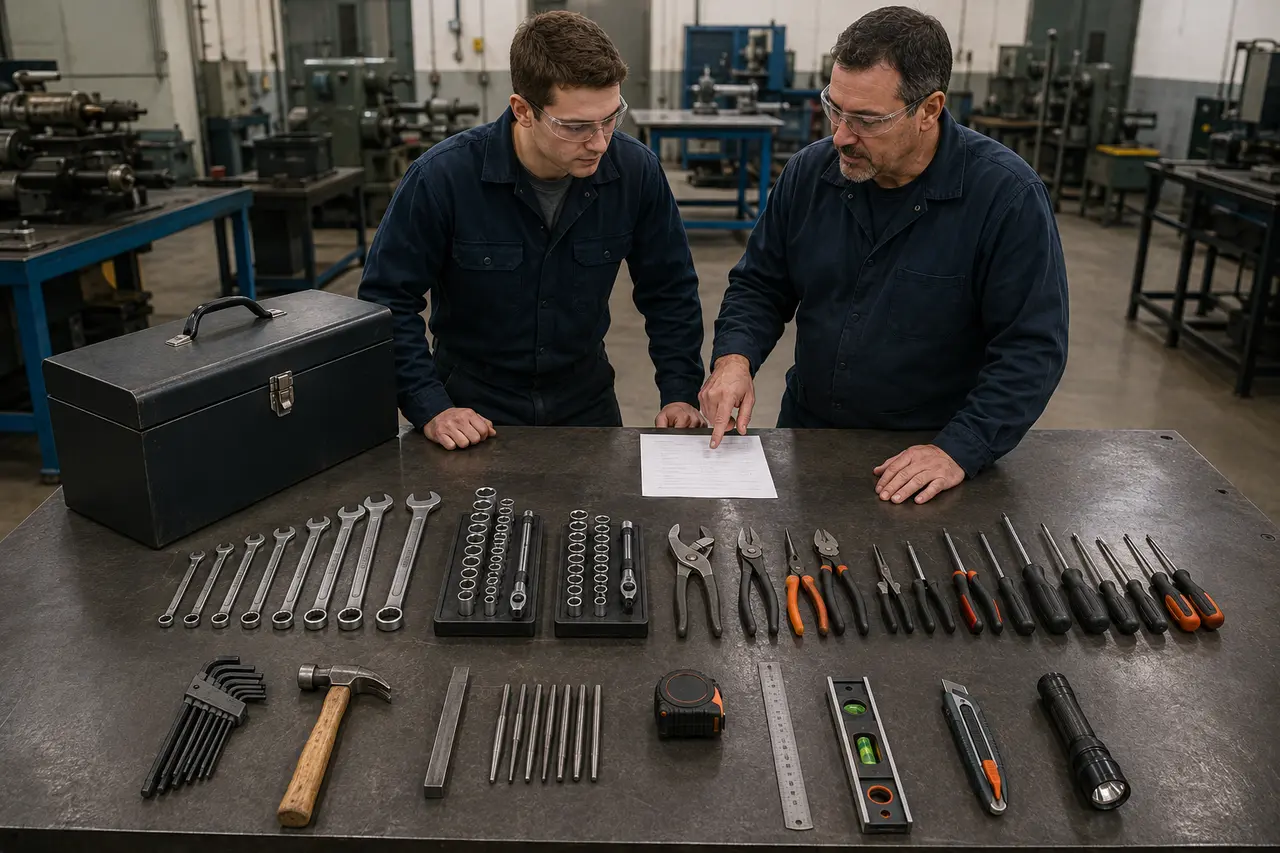
Know what belongs in your box
Personal core tools
Daily wrenches, sockets, pliers, drivers, striking, measuring and marking tools required by the written list.
Protected precision tools
Buy only after training and requirements are known; keep them clean, cased and separated from rough tools.
Employer or job controlled
Rigging, power tools, calibrated torque equipment, machinery movers and exposure-specific PPE.
Get the written list
Ask the apprenticeship office, training center or dispatcher for the current required sizes, deadlines, tool-marking rules and prohibited items.
Ask what is supplied
Confirm whether the contractor supplies power tools, calibrated instruments, rigging, torque equipment, consumables and task-specific PPE.
Match the assignment
Plant maintenance, turbine work, conveyor installation, automotive work and construction do not create the same day-to-day toolbox.
Buy the dependable core first. Add a tool after the assignment, required list or repeated need proves it belongs in your box—not because someone else's specialty box is full of it.
Stage 1 — first dispatches
Core first-toolbox checklist
This is a practical recommended starting point drawn from published millwright apprentice lists and common field use. Exact sizes remain subject to your written program requirements.
| Check | Tool | Recommended starting coverage | Why it earns space |
|---|---|---|---|
| ☐ | Combination wrench set | SAE 3/8–1-1/4 in; add metric if required | Routine assembly, hold-back and maintenance bolting |
| ☐ | 3/8-in drive socket set | Ratchet, SAE sockets and short extensions | Compact access and common smaller fasteners |
| ☐ | 1/2-in drive socket set | Ratchet, SAE sockets through the required range, extensions | Heavier common bolting and more leverage |
| ☐ | Adjustable wrenches | One 8 in and one 12 in | Fittings, hold-back and sizes outside the carried wrench set |
| ☐ | Tongue-and-groove pliers | About 10 in | Pipe, fittings, irregular shapes and general gripping |
| ☐ | Needle-nose pliers | General-purpose industrial pattern | Small parts, cotter pins and restricted access |
| ☐ | Diagonal cutters | Professional-duty pair | Wire, ties and light cutting within tool ratings |
| ☐ | Locking pliers | One curved-jaw general-purpose pair | Temporary gripping and controlled holding |
| ☐ | Screwdriver set | Several slotted and Phillips sizes | Guards, covers, clamps, terminals and small hardware |
| ☐ | Hex-key sets | SAE; metric when required | Set screws, guards, couplings and machine components |
| ☐ | Ball-peen hammer | Approximately 24–32 oz or required size | Metalworking, punches, fitting and controlled striking |
| ☐ | Small pry or aligning bar | Approximately 18 in | Controlled positioning and bolt-hole alignment |
| ☐ | Punch and cold-chisel basics | Small center/pin punch selection and common cold chisels | Pin work, layout marks and controlled metal separation |
| ☐ | Tape measures | 25 ft plus a short rule or compact tape | Layout, reference checks and general dimensions |
| ☐ | Pocket rule | 6 in steel rule with clear graduations | Fast small measurements and straight reference |
| ☐ | Magnetic torpedo level | Compact professional level | Quick level, plumb and rough-position checks |
| ☐ | Utility knife | Retractable or approved fixed type plus blades | Packaging, gasket material and general job preparation |
| ☐ | Marker, soapstone and scribe | Job-appropriate marking tools | Layout, match marks and hardware identification |
| ☐ | Flashlight or headlamp | Durable compact light | Inspection and access inside equipment and poor lighting |
| ☐ | Lockable storage | Toolbox plus a practical carry bag | Organization, transport and basic theft deterrence |
Use the detailed directory
Compare the core hand-tool groups
Review use cases, tradeoffs and current product comparisons before choosing exact tools.
Stage 2 — after the work shows the need
Add reach, sizes and task-specific hand tools
More bolting coverage
- Deep 1/2-in drive sockets
- Metric wrench and socket sets
- Breaker bar and additional extensions
- Spud or construction wrench when assigned
More gripping options
- Lineman and slip-joint pliers
- Additional locking-plier sizes
- Snap-ring pliers after the required style is known
- Inspection mirror and retrieval magnet
Positioning and striking
- Dead-blow or soft-face hammer
- Larger aligning bars
- 3–4 lb hand sledge if required
- Expanded drift and punch set
Layout and metalwork
- Combination square
- Chalk line and plumb bob
- Thread-restoring files
- Aviation snips when the work requires them
Access and organization
- Tool belt, bucket or compact service bag
- Second lockable box for clean tools
- Small-parts organizer
- Labels or engraving permitted by the employer
Buy after asking
- Unusual large socket sizes
- Specialty pullers or bearing tools
- Electrical test equipment
- Job-specific pipe or welding tools
Stage 3 — precision after training
Protect measurement tools from the rough-tool box
Precision tools should match the measurement method, range, resolution, accuracy and verification requirements of the assignment. Buy them after you know what your program expects and how the tool will be checked.
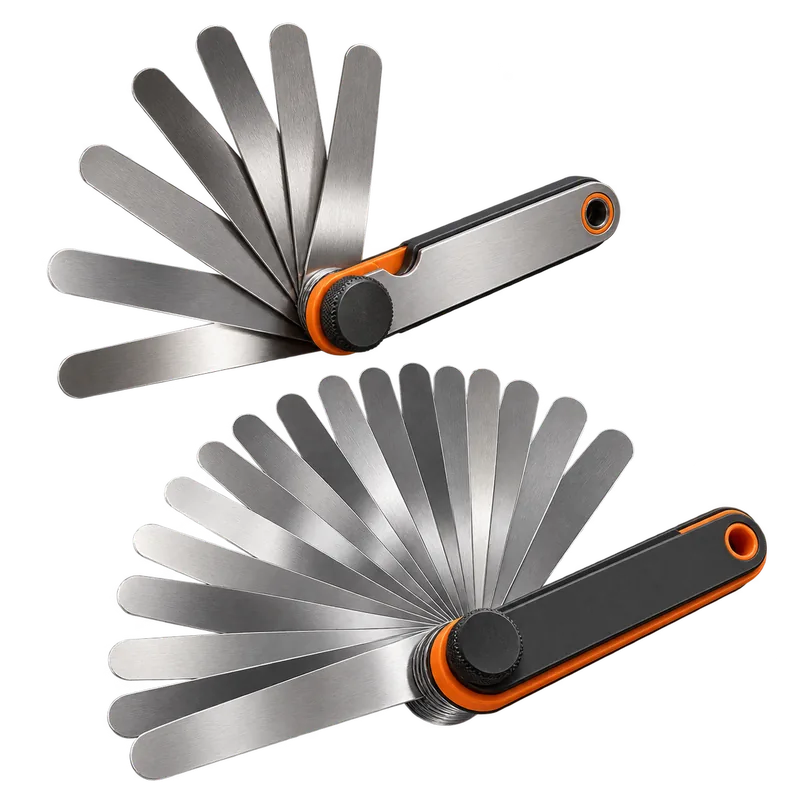
Feeler gauges
A common first precision addition for gaps, clearances and soft-foot support. Keep blades clean, straight and lightly oiled as appropriate.
Explore feeler gauges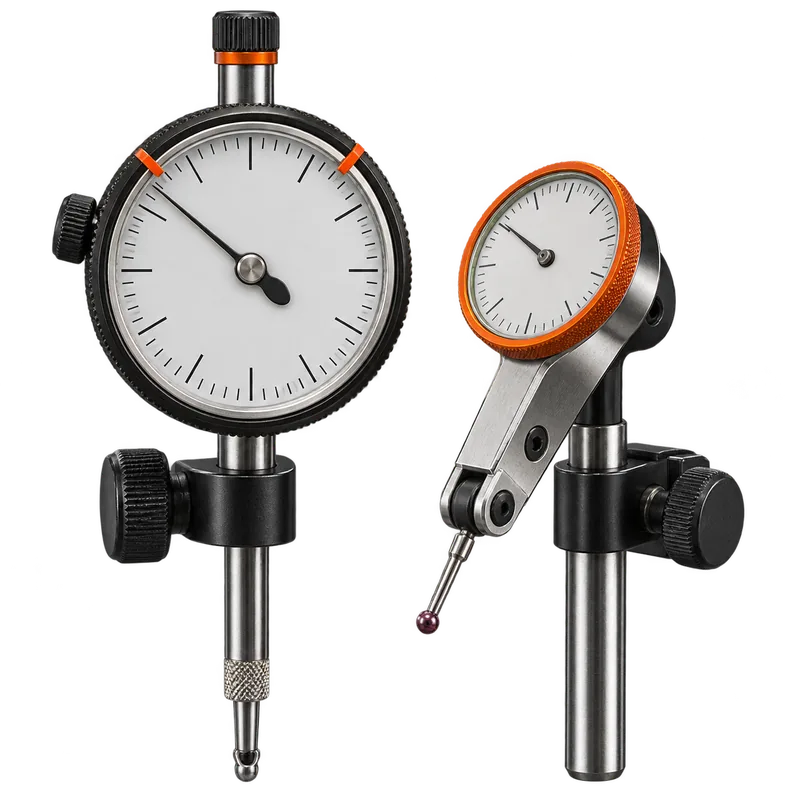
Dial indicator and base
Useful for runout, endplay and setup checks only after mounting, preload, reading direction and verification practices are understood.
Explore dial indicators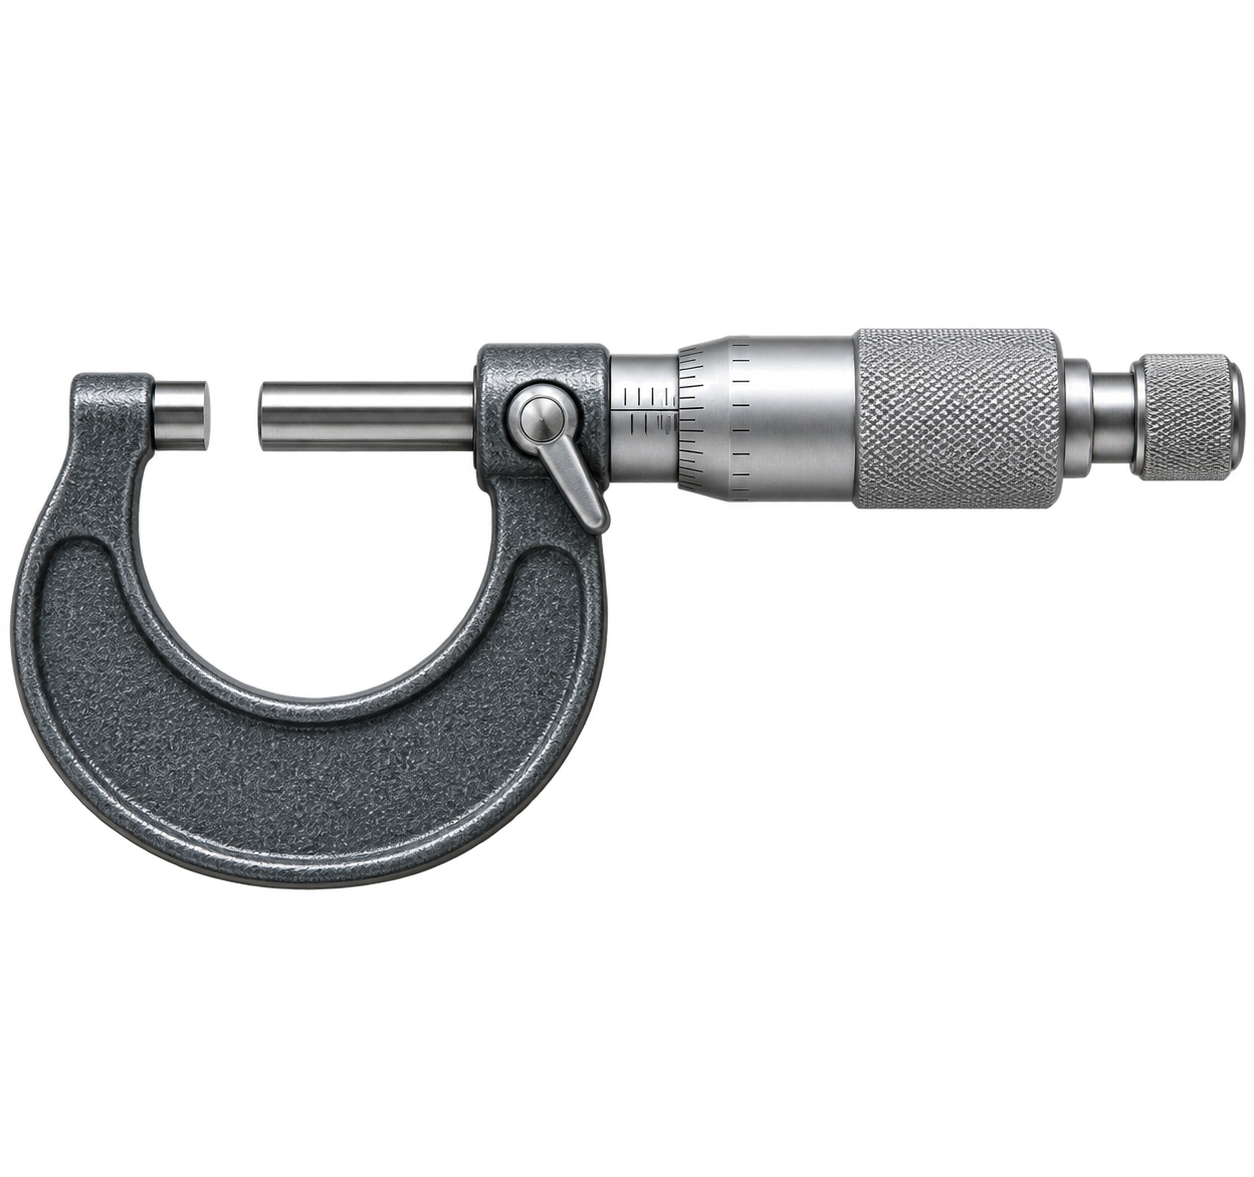
0–1 in micrometer
A common training instrument for learning measuring force, reading, standards and temperature awareness.
Explore micrometers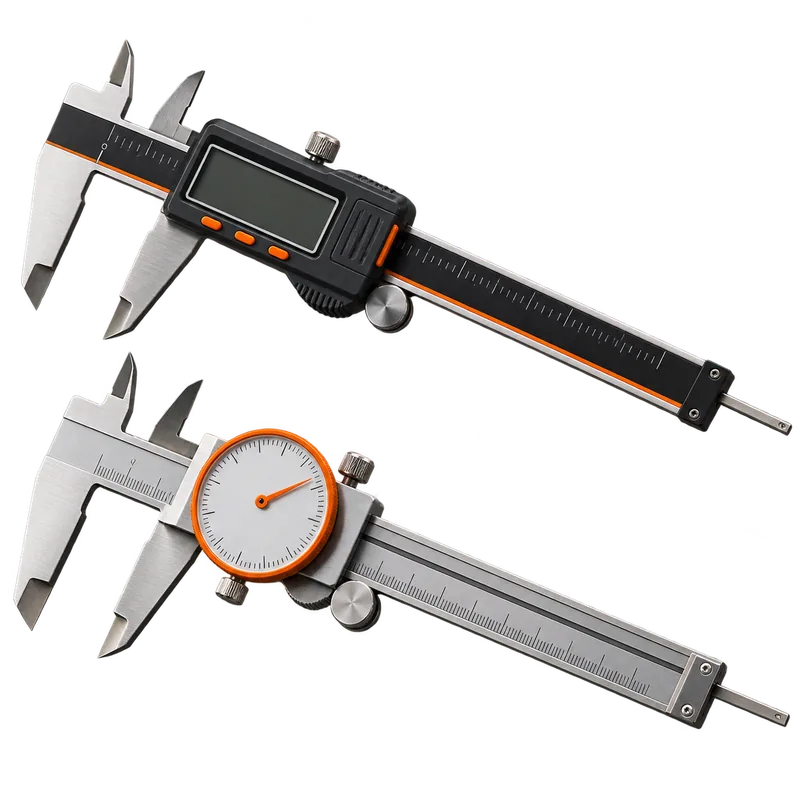
6 in caliper
Useful for general outside, inside, depth and step measurements, but not a substitute for a micrometer when tighter accuracy is required.
Review precision guidanceKeep indicators, micrometers, calipers and precision levels in fitted cases or a clean locked box. Do not let them ride loose with hammers, sockets and bars.
PPE is selected from the hazard
Confirm requirements before purchasing personal PPE
Hard hats, eye and face protection, hearing protection, gloves, respiratory protection, fall equipment, flame-resistant clothing and footwear must match the employer's hazard assessment and site rules. OSHA generally requires employers to provide required PPE at no cost, subject to listed exceptions; do not assume every item belongs on a personal shopping list.
| Item | Confirm before buying | Practical note |
|---|---|---|
| Safety-toe footwear | Toe type, metatarsal requirement, electrical rating and site policy | Buy for fit and long-shift comfort only after requirements are known |
| Hard hat / safety helmet | Type, class, color, accessory compatibility and employer issue policy | Do not drill, paint or add unapproved accessories |
| Safety eyewear | Impact rating, side protection, prescription needs and task overlay | Keep a clean compliant pair available, but follow the employer program |
| Hearing protection | Required attenuation and compatibility with other PPE | More attenuation is not automatically better for communication |
| Gloves | Cut, heat, chemical, vibration and rotating-equipment restrictions | No single glove is correct for every millwright task |
| Respirator | Employer program, medical evaluation, fit test and cartridge selection | Never self-select a respirator for an uncontrolled exposure |
| Fall protection | Approved system, connectors, inspection and rescue plan | Use only employer-approved, compatible equipment and training |
| FR / arc-rated clothing | Hazard category, garment rating, laundering and site issue policy | Ordinary workwear is not a substitute for specified protective clothing |
Browse the Safety & PPE directory for selection factors and product comparisons.
Do not personally duplicate the gang box
Equipment that is commonly employer or job controlled
Rigging equipment
- Slings, shackles and hoists
- Beam clamps, trolleys and lifting beams
- Tagging, inspection and certification records
Powered equipment
- Impact wrenches, grinders, saws and drills
- Magnetic drills and cutting equipment
- Batteries, chargers and consumables
Controlled bolting
- Calibrated torque wrenches
- Hydraulic torque and tensioning systems
- Approved sockets and reaction fixtures
Alignment systems
- Laser alignment equipment
- Optical tooling and fixtures
- Calibrated indicators required by procedure
Machinery movers
- Toe jacks, rams and pumps
- Skates, rollers and powered movers
- Engineered cribbing and support systems
Exposure-specific PPE
- Respiratory systems and cartridges
- Fall-arrest systems
- Electrical, chemical and task-specific protection
Spend where failure costs time
A smarter order for building the box
Verify the list
Confirm current program, contractor, PPE and tool-marking requirements.
Buy the core
Cover the daily-use hand-tool range and dependable storage first.
Add when assigned
Expand specialty, metric and precision depth after training or repeated need.
- Meet the written requirementBuy the exact minimum sizes and tool types required for class or dispatch before adding optional pieces.
- Prioritize daily-use toolsPut better money into ratchets, wrenches, pliers, screwdrivers, tape, light and storage—the tools handled every shift.
- Choose complete practical rangesA gap in common sizes causes more trouble than owning a premium version of only one size.
- Buy storage earlyOrganization prevents loss, speeds work and keeps precision tools separated from rough tools.
- Replace weak links deliberatelyUpgrade the tool that slips, spreads, breaks or slows repeated work instead of replacing the whole box for appearance.
- Add specialty depth slowlyLet assignment history prove whether a larger bar, deep socket set, specialty plier or precision instrument deserves personal ownership.
Reference basis
Published apprentice and safety guidance
This Millwright Supply list is a recommendation, not a union local, employer or training-center requirement.
Millwright tool questions
Frequently asked questions
Practical answers for comparing tools, planning the work and choosing equipment for the actual assignment.
What tools should an apprentice millwright buy first?
Begin with the confirmed day-one list: common personal hand tools, measuring and marking basics, durable lighting and lockable storage. Buy reasonable professional quality, mark tools as permitted and wait for actual assignments before purchasing specialty sizes or instruments.
Does an apprentice millwright need to buy precision tools?
Not always. Many programs or employers supply controlled precision instruments, and an apprentice needs training in range, resolution, force, setup, care and verification before using them. Ask before buying an indicator, micrometer, caliper or level.
Which millwright tools are normally employer supplied?
Policies vary, but powered equipment, rigging, calibrated torque tools, specialized alignment systems, fall protection, respirators and other controlled safety equipment are commonly employer-managed. Use the written tool list and ask the supervisor, coordinator or apprenticeship program when responsibility is unclear.
How should an apprentice expand a millwright toolbox?
Add reach, drive sizes, metric coverage, gripping options and task-specific tools after recurring work proves the need. Keep a short gap list after each assignment, compare exact models and avoid buying tools merely because another craft or jobsite uses them.
Learn why each group matters
Read the Essential Millwright Tools guide
The companion guide explains how the core tool groups support maintenance, installation, outage and alignment work.